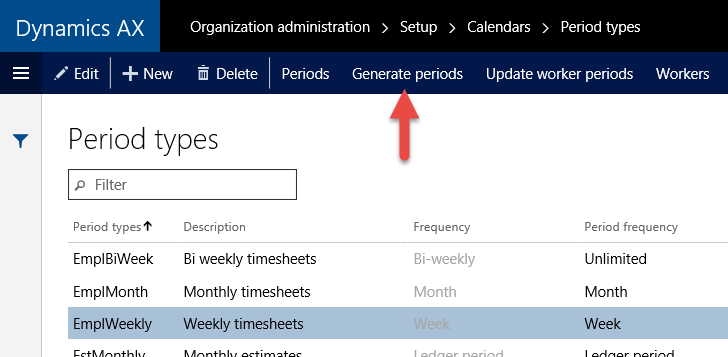
Making sure tasks are performed by the right person at the right time is always a hassle and we’ve got MANY places where one could organize these types of things and some are more convenient then others. I wrote about the Data Validation Checklist a few days ago and that gave us a great tooling when it comes to running through setup and effectively navigate and keep track of the process. The nice feature of that being that you could easily navigate to the task as you could associate a task with a menu item and get right to where you needed to be to perform the task.
In the latest release of Dynamics 365 for Finance and Operations, Enterprise Edition we’ve also got a new “Business processes solution” from the HR product team which is pretty similar in nature, but has some extra features that you might like. It even got THREE work centers, which is rather superfluous and could be solved with only one with a filter function.
It is obviously meant to cover Payroll and HCM processes, but can basically be used for the same thing as the Data Validation Checklist (meaning all menu objects linked to a task can be reached). The difference being that it is not global in the solution when executing and tracking the tasks, but it is however have a personal user view and you can have a due date and offset deadlines on each tasks based on that. You are also able to execute the process multiple times.
Let us take a look at how this new feature works, how to set it up and then look at executing and tracking tasks.
Setting it up
1. Create a template
A template is a set of tasks that are to be triggered at a given time. Different tasks are then distributed based on the Assigned worker with a deadline offset to the target date.
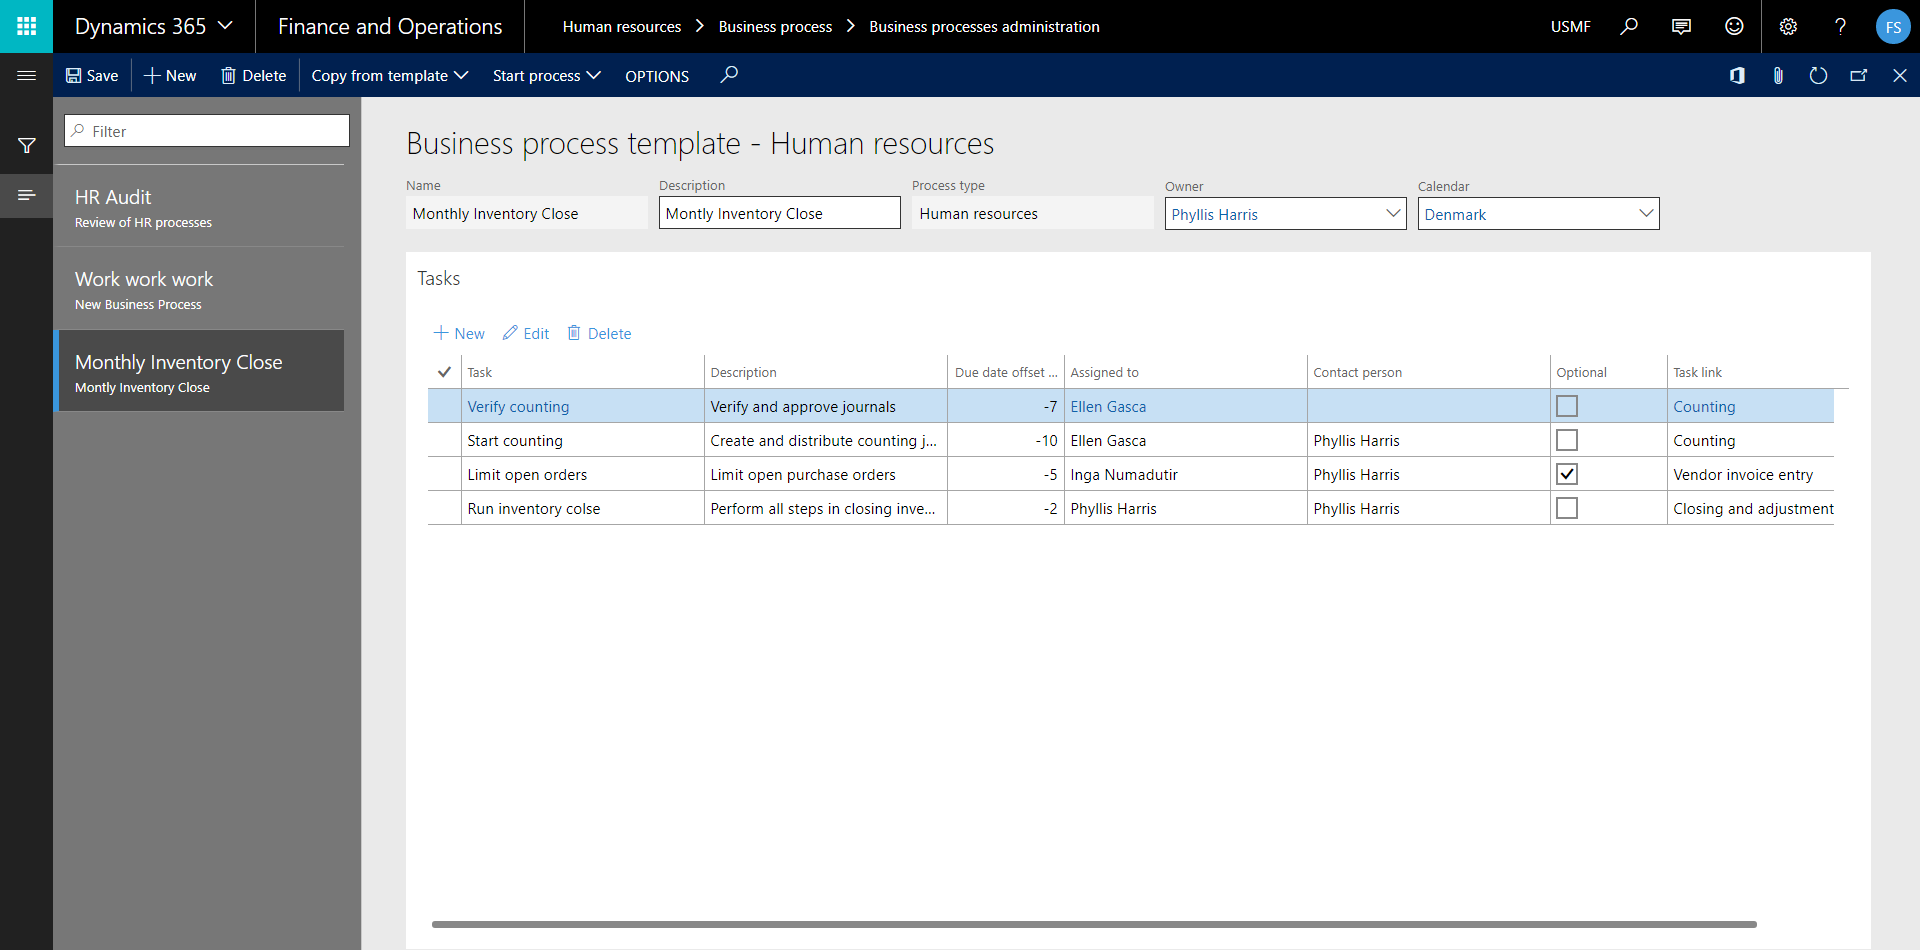
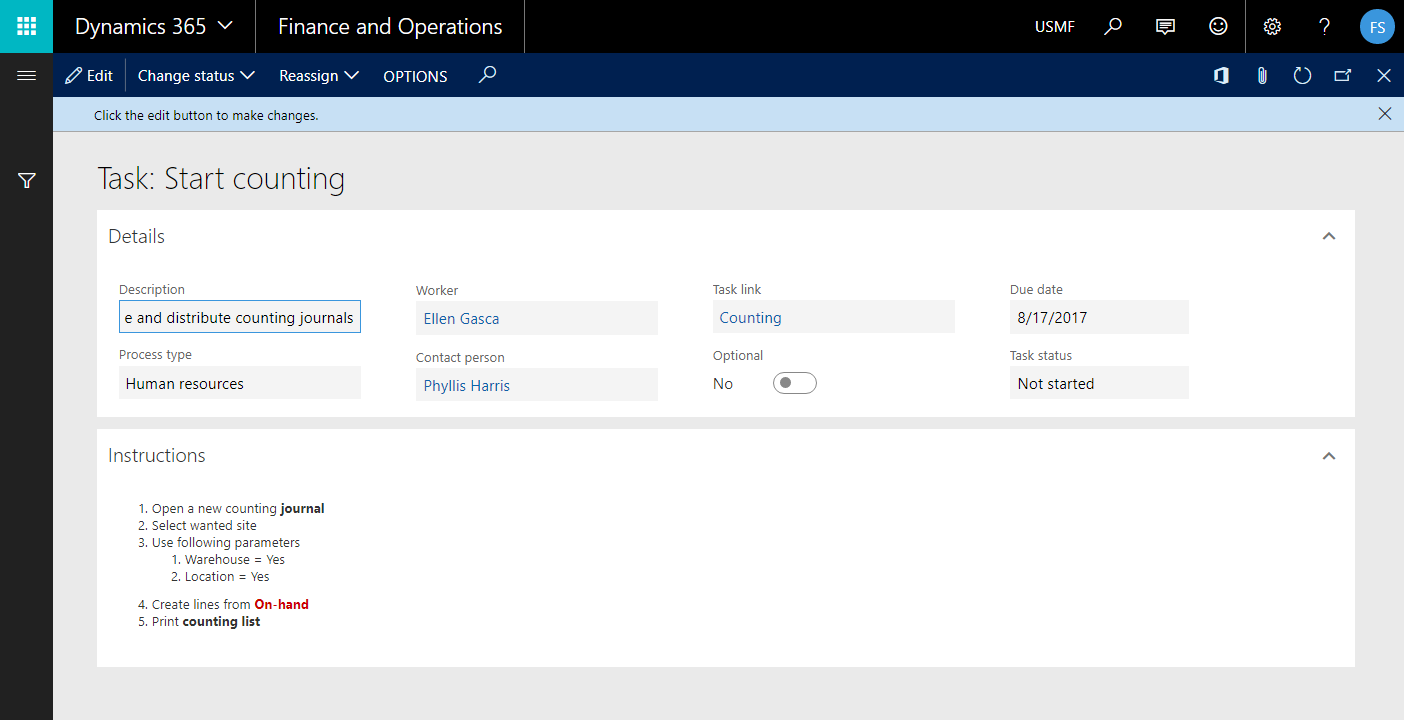
First you create a new task. I’m creating a “Montly inventory close” business process as an example. In the Contoso demo data there is an HR Audit.
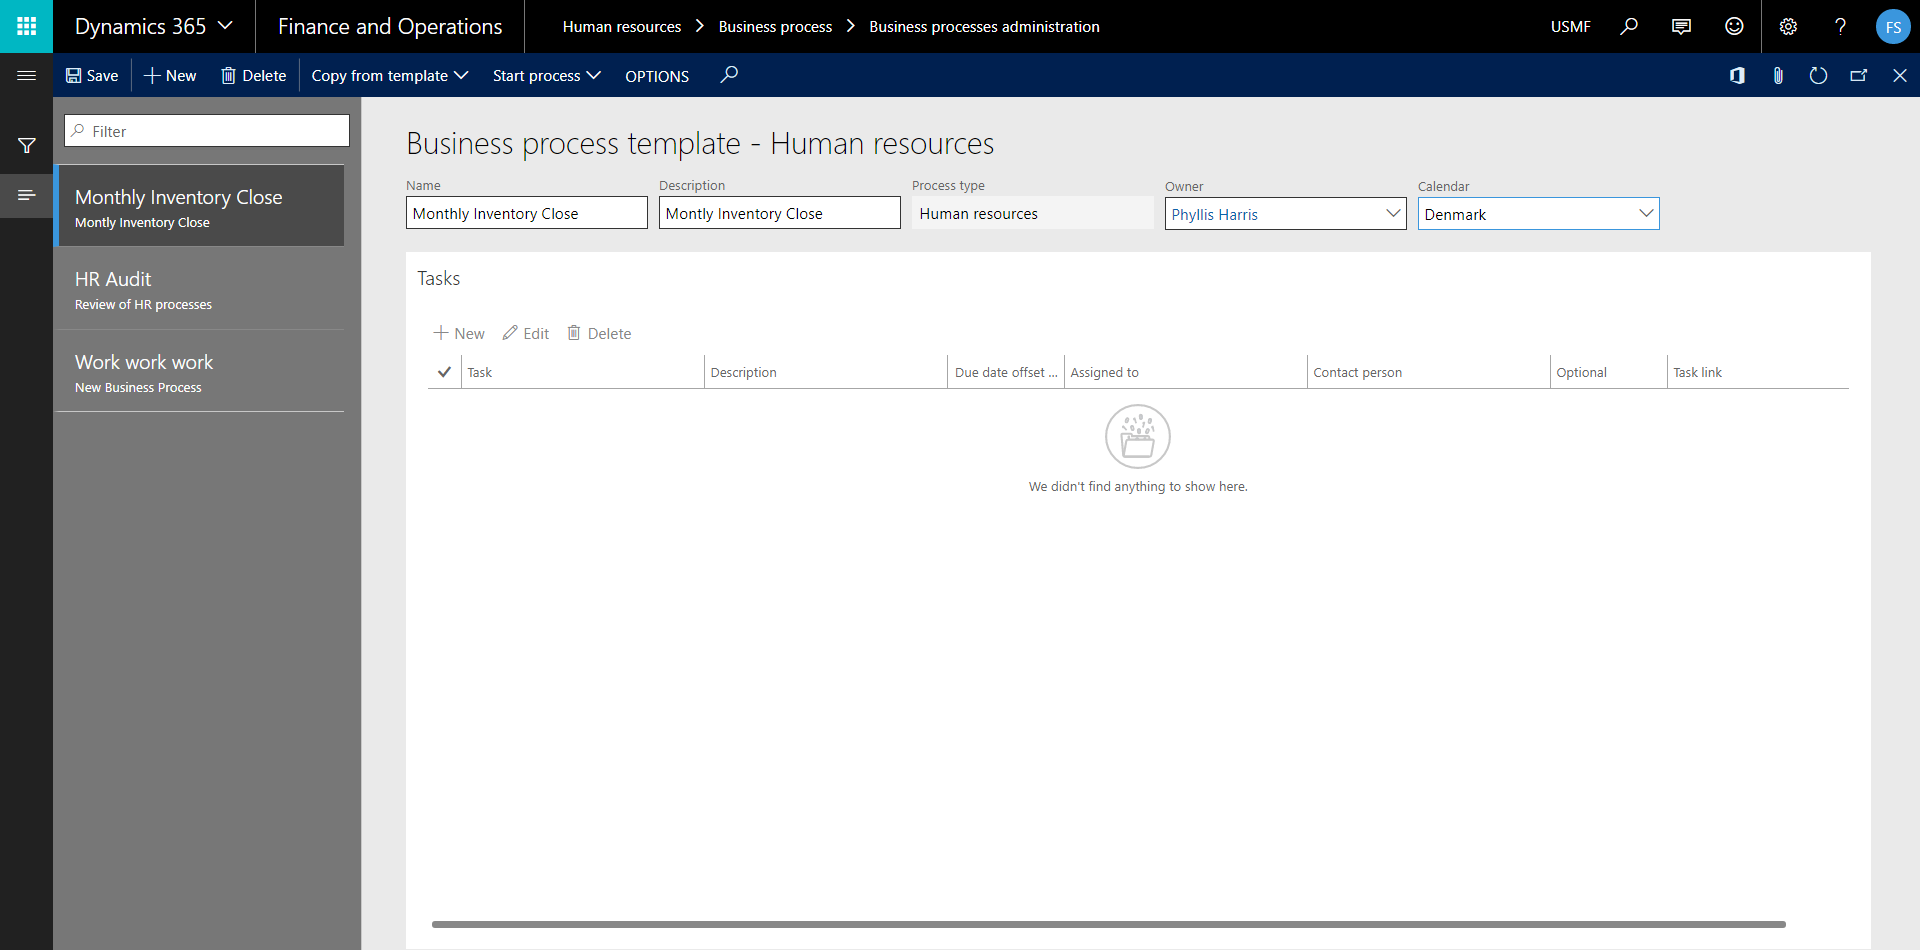
Input a name, description, template owner and calendar. The template owner will be able to create new tasks after the process has been triggered in addition to the existing template tasks. The calendar will help offset task deadlines and only focus on actual open business days.
The “Process type” is always set to the module you launch it from. I would assume that there will be other modules supported in the future.
2. Create tasks
Once the template is saved you can create the tasks.
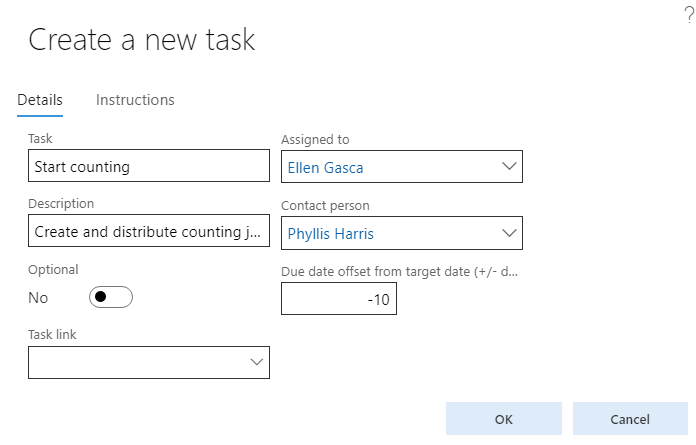
Create a name, description, Assigned worker, contact person, offset date and a task link. Note that a task can be optional.
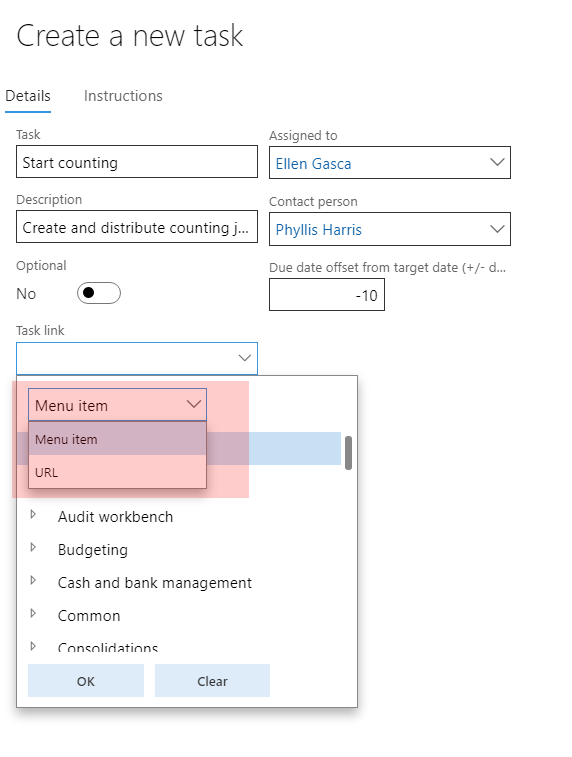
Task links can be either a menu item or a URL.
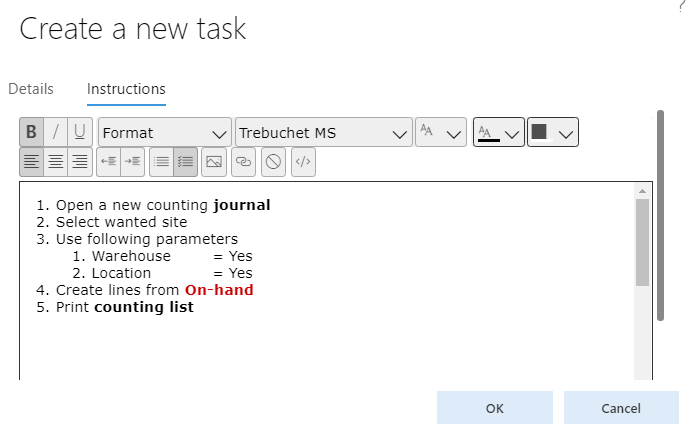
The instructions is a nice rich text editor that works very well.
Repeat the process until you have your complete business process.
Execution and tracking
Once a template is create it is then triggered for execution by clicking “Start Process” in the action menu.
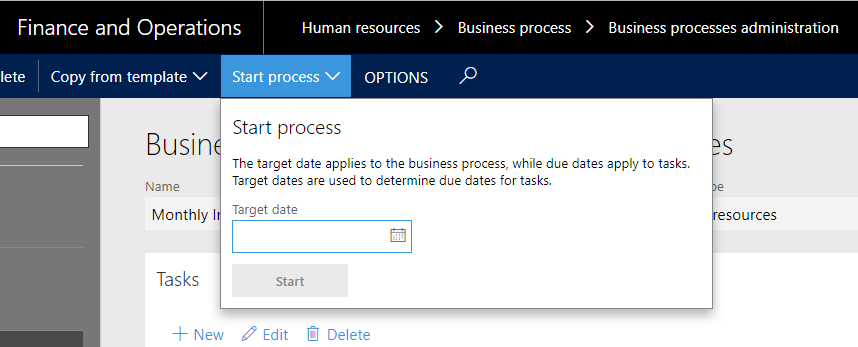
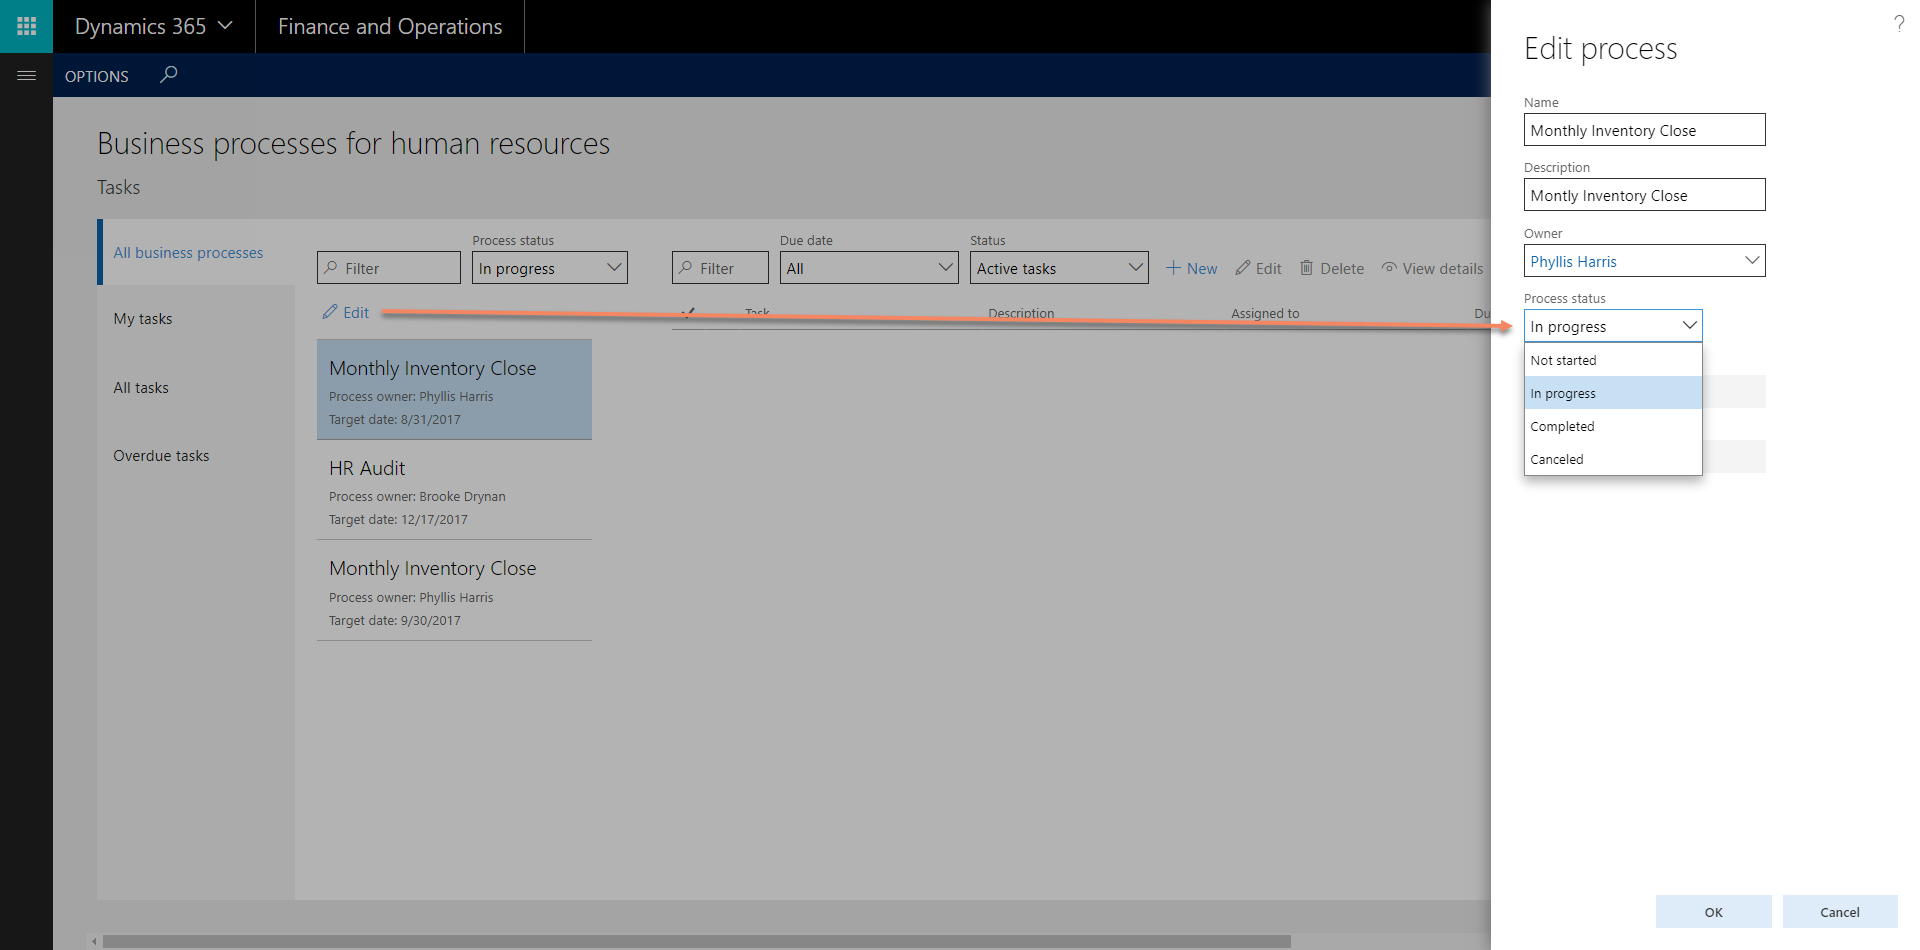
Once the process is started the system will create a business process instance with set of task for each task in the template. The status will be set to “in progress”. A Business process instance can have different statuses (“Not Started”, “In progress”, “Completed” and “Canceled”) and you can trigger multiple instances of templates and have them running at the same time.
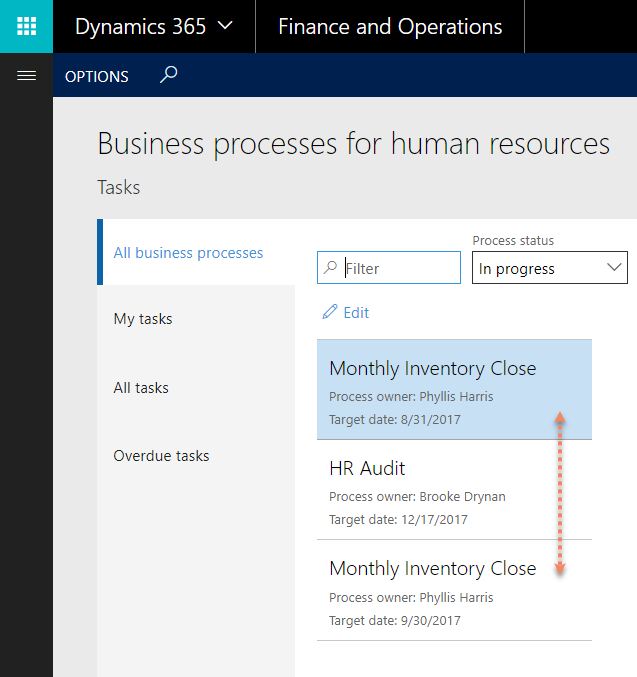
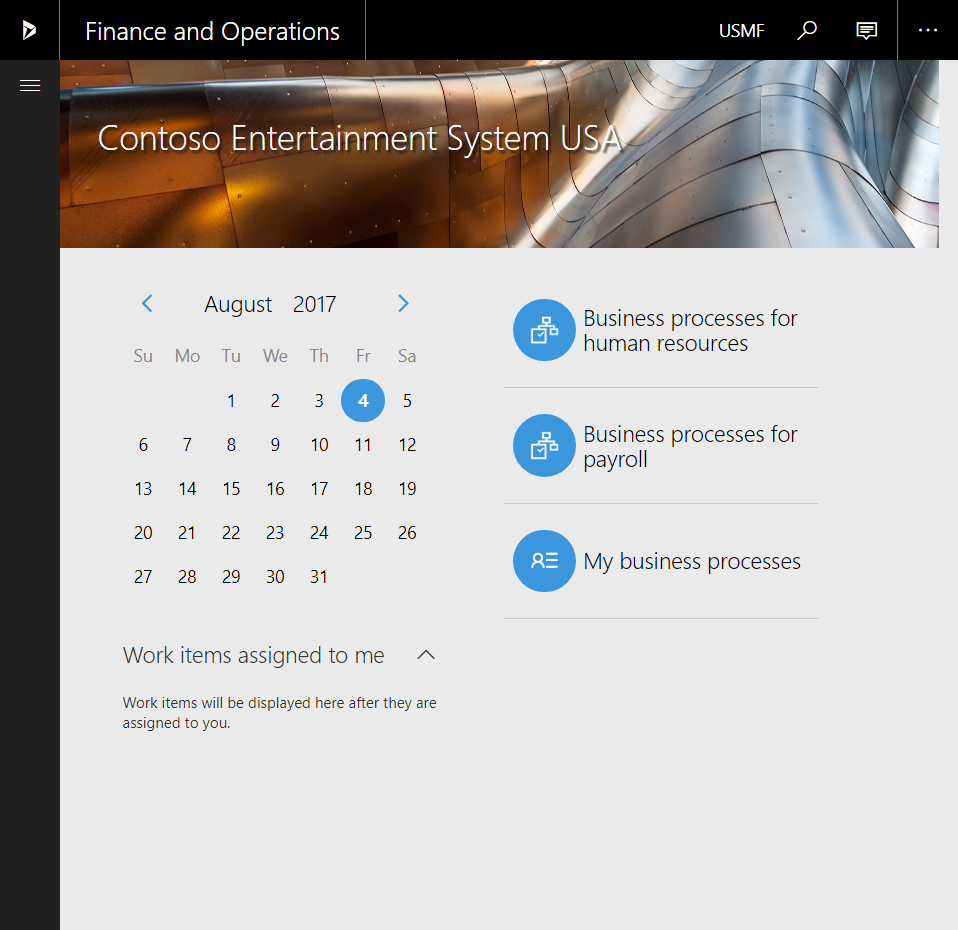
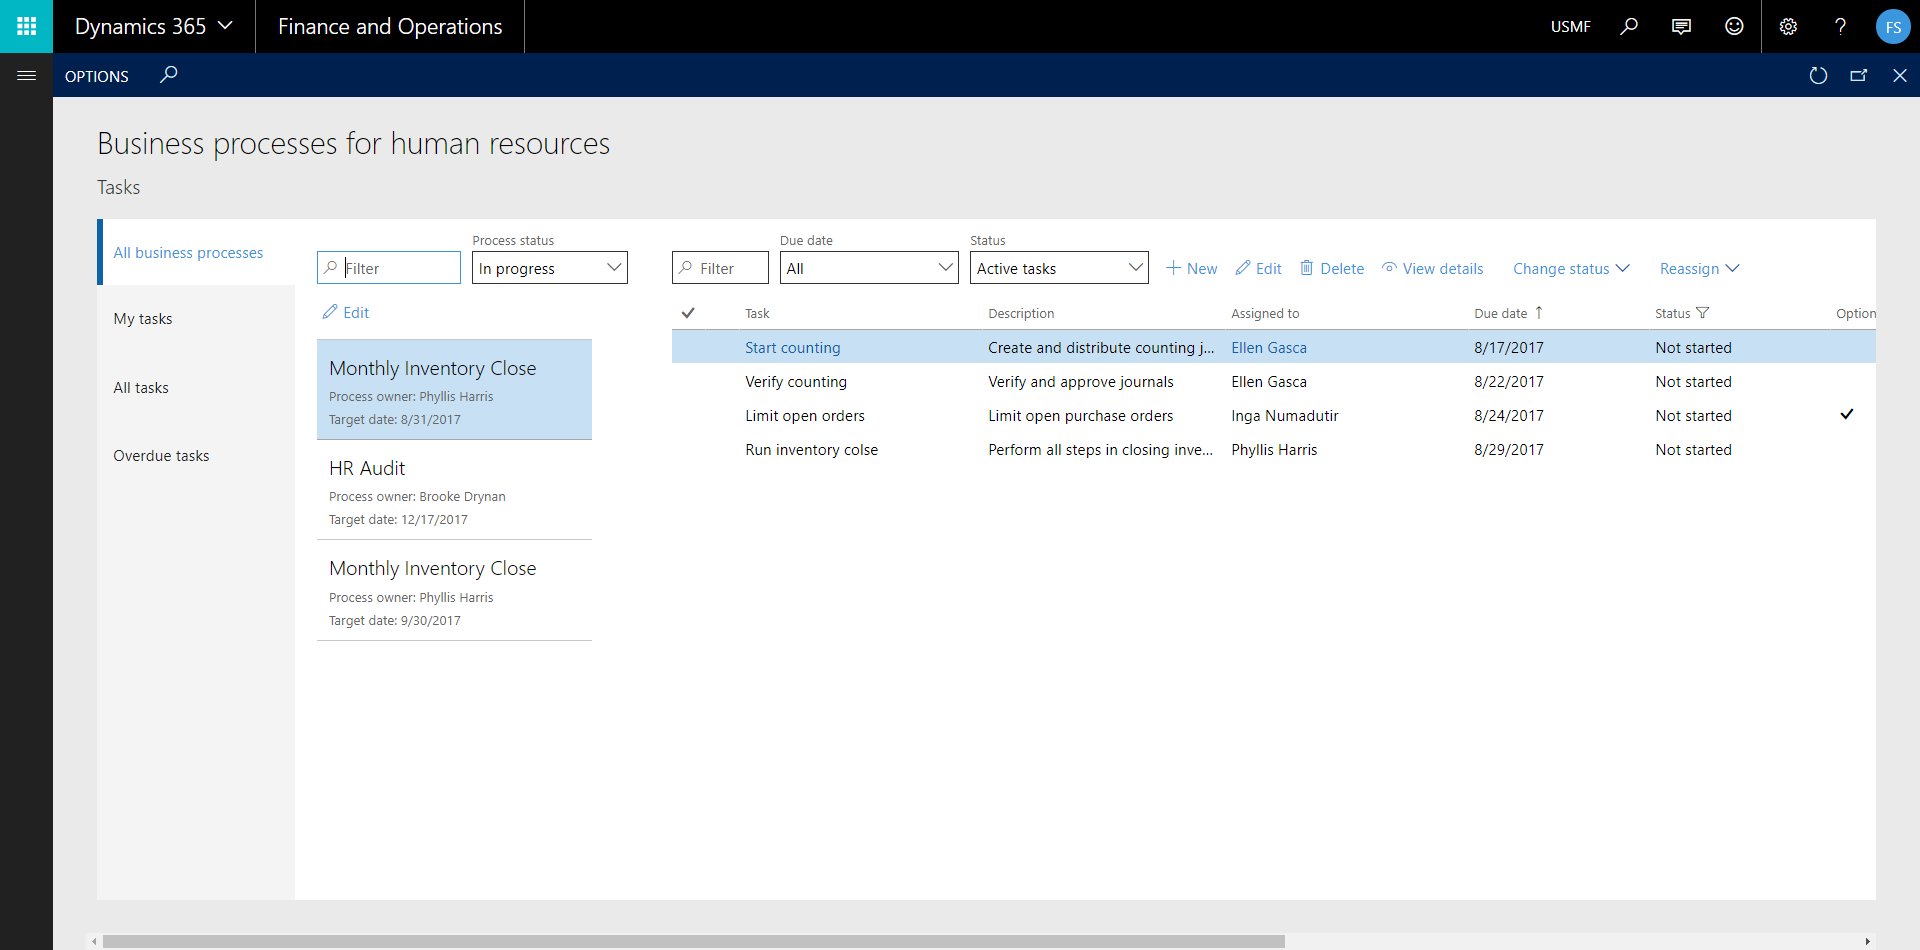
Anyone can view the ongoing processes in the “Business processes for HR/Payroll” work space which has a filter for each process type and has the all and overdue list, while the “My business processes” work space only shows the users tasks and the templates their responsible for.
It is also possible to create new tasks for a running business process and one can create blank templates and just fill them in as you please.
The users will be able to view their assigned tasks in the “My Business Processes” work space. They can view details, change status (In progress, Completed, Canceled) and reassign the task to other workers.
Once all tasks are completed the business process instance is still set to “in progress” and you would have to mark the instance and click the “edit” button where you could change the status of the business process instance to complete.
Summary
All in all a good first feature release, but I would hope that they would move a bit closer to how other features are developed. I mean that they have relied too much on the work centers for access to data, where the work centers are used instead of feature oriented forms. I couldn’t easily find a form that showed me all tasks except in the work centers. They should quickly remove two of the work centers and add a possibility to navigate to a form instead. Also a related links in the work spaces to get to the configuration and some statistics for each task would be preferable…
I’m also missing some features that I hope will be implemented in the future. Like task dependencies and also a more role based approach among other things. Assigning templates to defaulted workers could give some headache and is a killer when moving between companies.
I am hoping this will in time also bleed in to the other task handling systems in the solution like the case management and more.